Landing Page: Custom Template
SignalSight allows you to use custom templates for your landing pages, giving you complete control over the design and functionality of your pages. This feature is perfect for users who want to create unique, branded landing pages that match their specific requirements.
What is Custom Template?
Custom Template is a feature that enables you to upload and use your own HTML/CSS/JavaScript templates for landing pages. Instead of using pre-built templates, you can create fully customized landing pages that align with your brand identity and specific marketing needs.
Benefits of Using Custom Template
- Complete Design Control: Design your landing pages exactly as you envision them.
- Brand Consistency: Maintain your brand identity across all landing pages.
- Advanced Functionality: Implement custom features and integrations specific to your needs.
- Flexibility: Adapt your templates to different campaigns and marketing goals.
Step 1: Tracker Creation and Landing Page Setup
The first step in creating a landing page with a custom template is to create a tracker. A tracker is essential for managing and monitoring your landing page performance. After creating the tracker, you can proceed to create your landing page.
Create a Tracker
To begin the process:
- Create new web datasets that will be used in the landing page for W2A.
- Then, go to the tracker creation wizard under Trackers.
- Select the MMP Provider as the source (Adjust / Appsflyer).
- Enter the newly created web datasets as the destination. (For Meta: Meta Conversions API, for TikTok: TikTok Events API)
- Give a name to the tracker and complete the setup.
- Select this tracker during the Landing Page creation process.
You may review the documentation for Adjust W2A and Appsflyer W2A.
Access Landing Page Creation
Once you have created or selected a tracker, you can proceed to create a landing page:
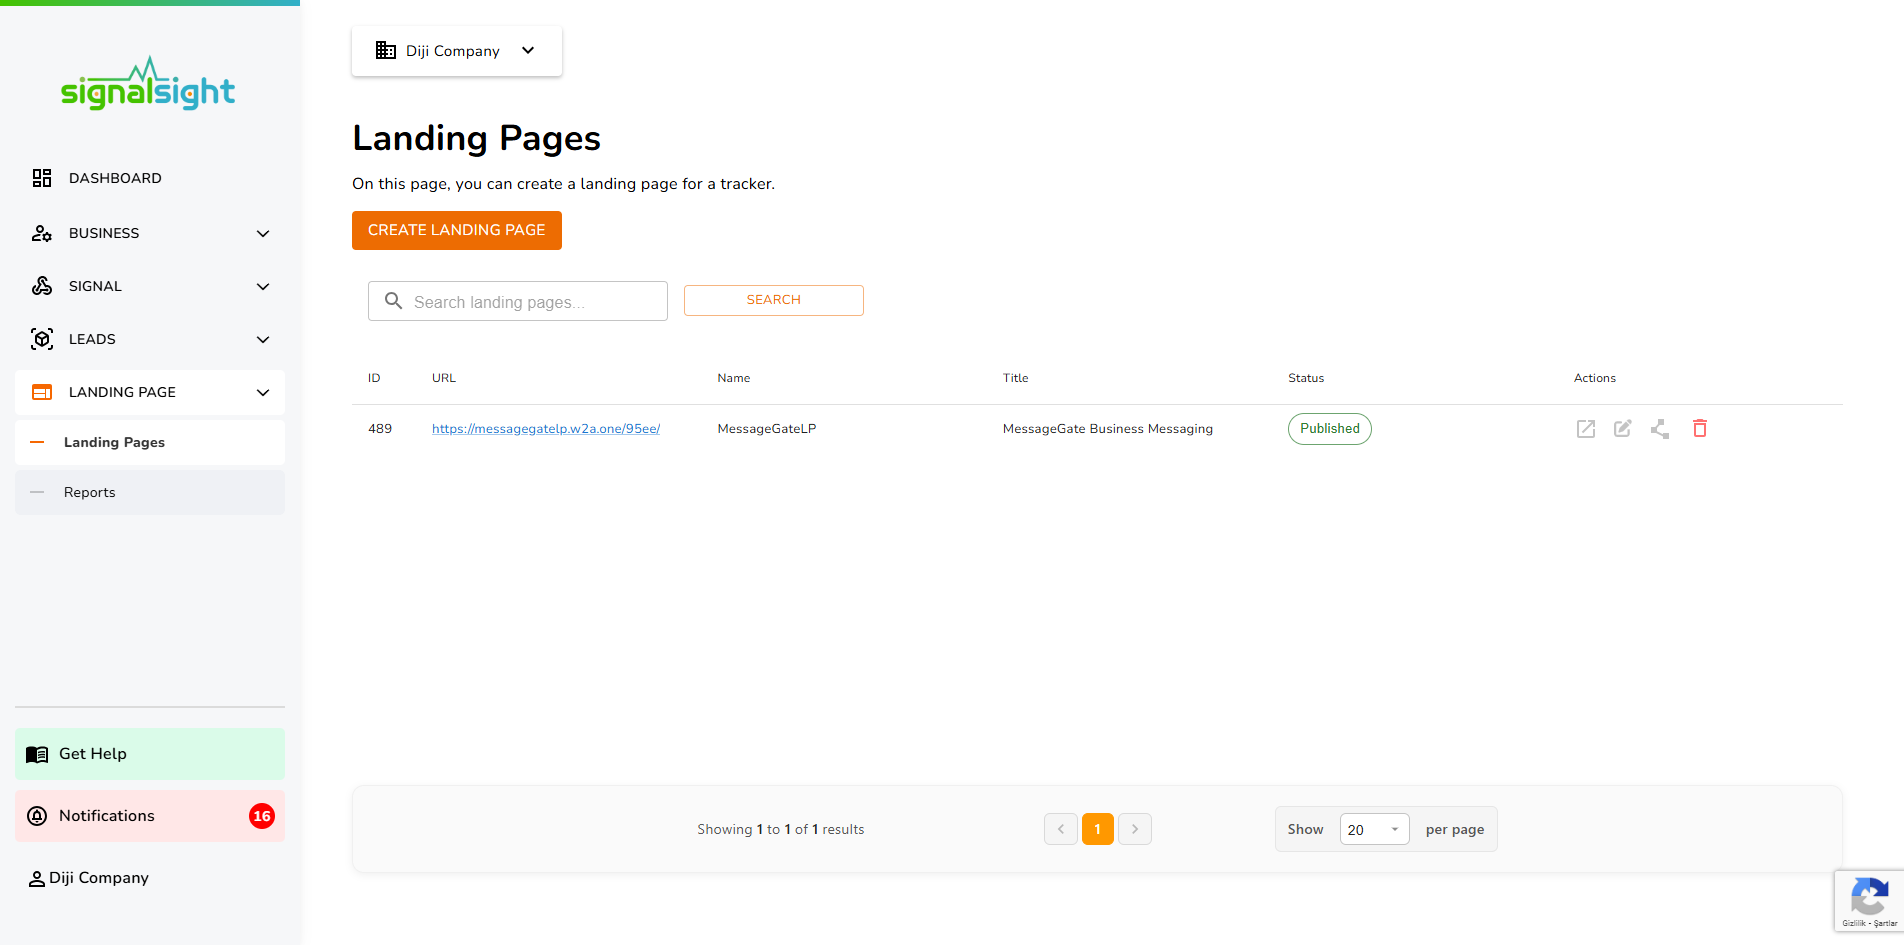
- From the tracker dashboard, locate the "Landing Pages" section.
- Click on the "CREATE LANDING PAGE" button to start the landing page creation wizard.
- You will be taken through a multi-step wizard to configure your landing page.
General Information Step
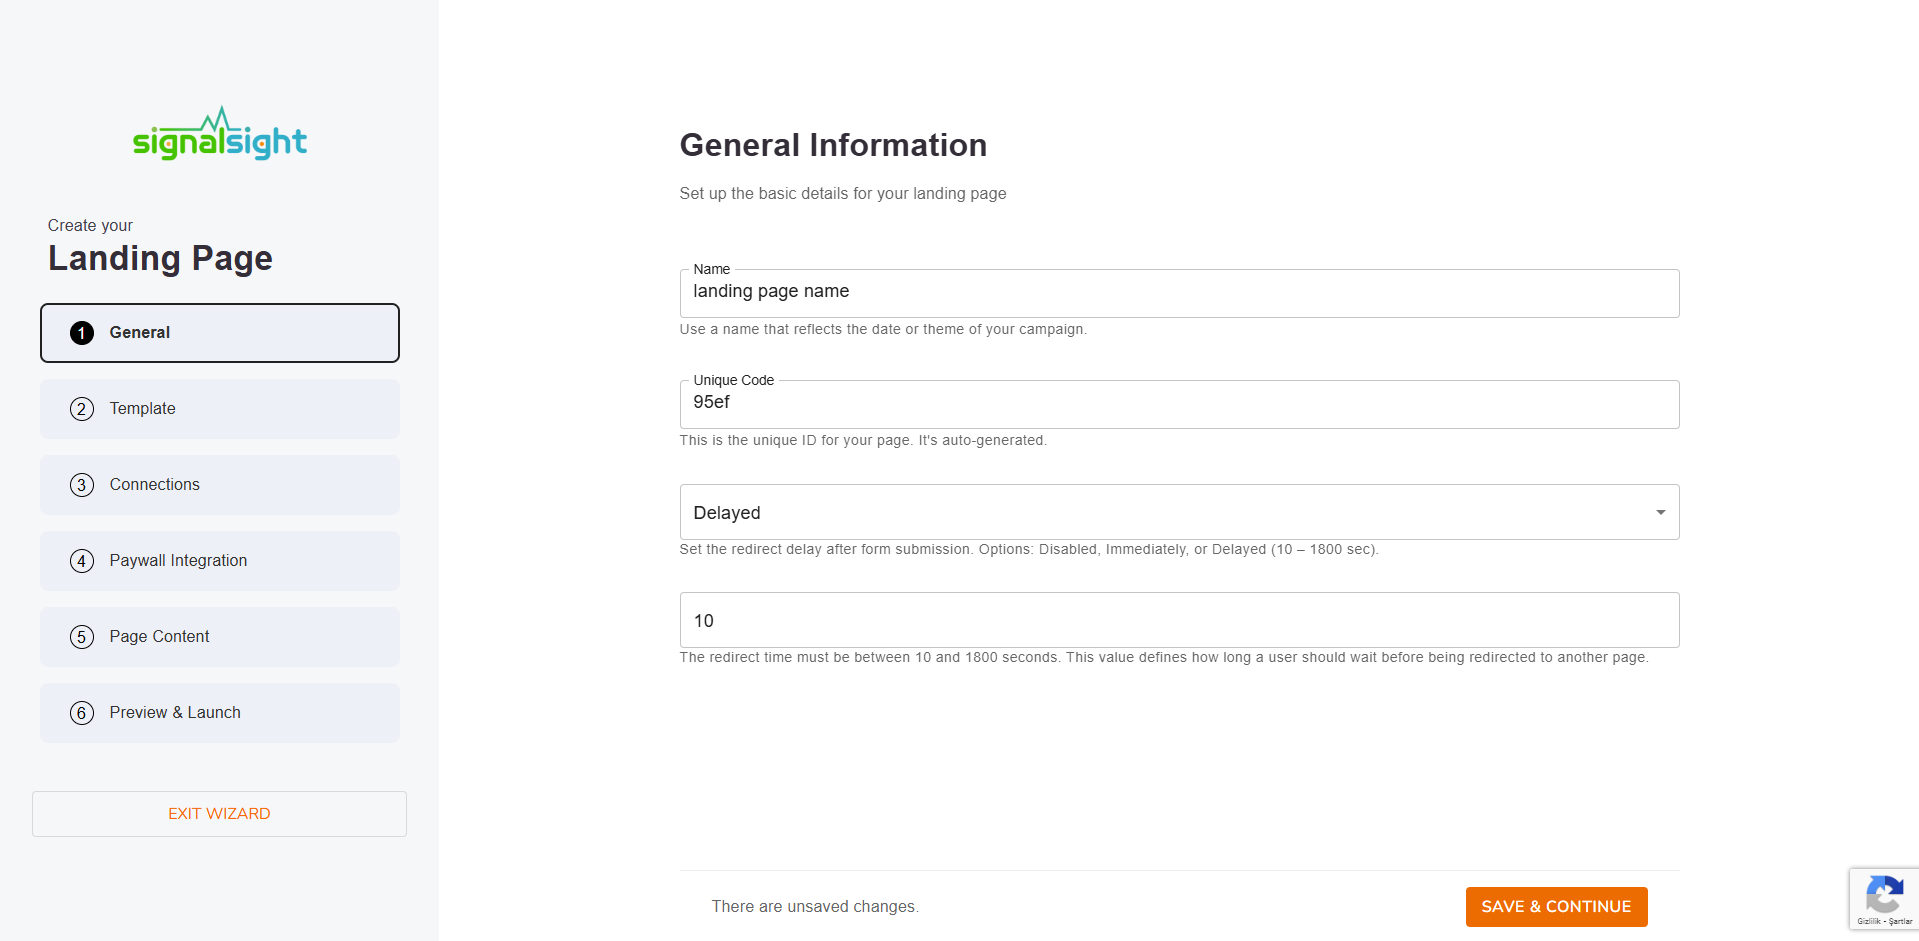
In the first step of the landing page creation wizard, you'll need to provide general information:
- Name: Enter a descriptive name for your landing page that reflects your campaign or theme.
- Unique Code: A unique identifier will be auto-generated for your landing page.
- Redirect Delay: Configure how users will be redirected after form submission (Disabled, Immediately, or Delayed with a time range of 10-1800 seconds).
- Redirect Time: If you choose "Delayed" redirect, specify the delay time in seconds (between 10 and 1800 seconds).
Template Selection Step
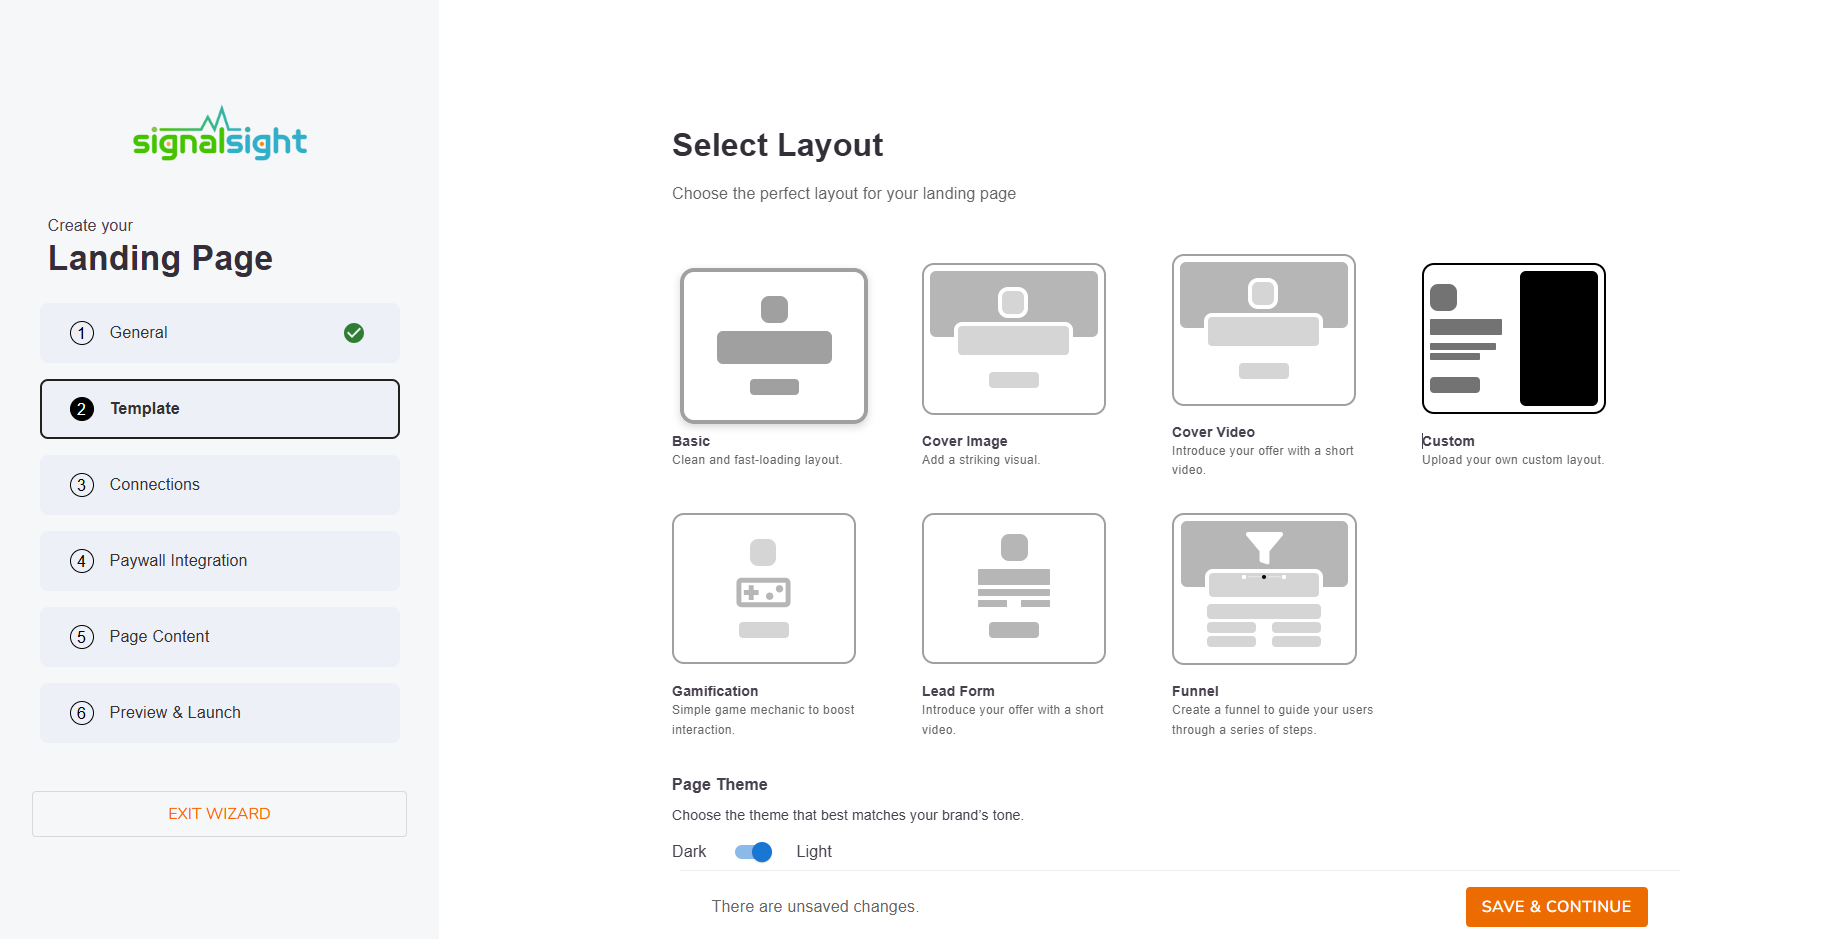
In the template selection step, you can choose from various layout options. For custom templates:
- Select the "Custom" template option from the available layouts.
- This will allow you to upload your own HTML/CSS/JavaScript template.

Connections and Integrations Step
In this step, you'll configure connections and integrations for your landing page:
- Tracker: Select the tracker you want to associate with this landing page (e.g., Adjust Tracker, AppsFlyer Tracker).
- MMP Provider: Choose your Mobile Measurement Partner (Adjust, AppsFlyer, etc.).
- One Link: Enter your MMP one-link URL for app store redirections.
- Store Type: Select the app store type (Apple App Store, Google Play Store).
- App Store ID: Enter your app's store ID (e.g., iOS App Store ID).
- Custom Product Page URL: Optionally specify a custom product page URL for iOS.
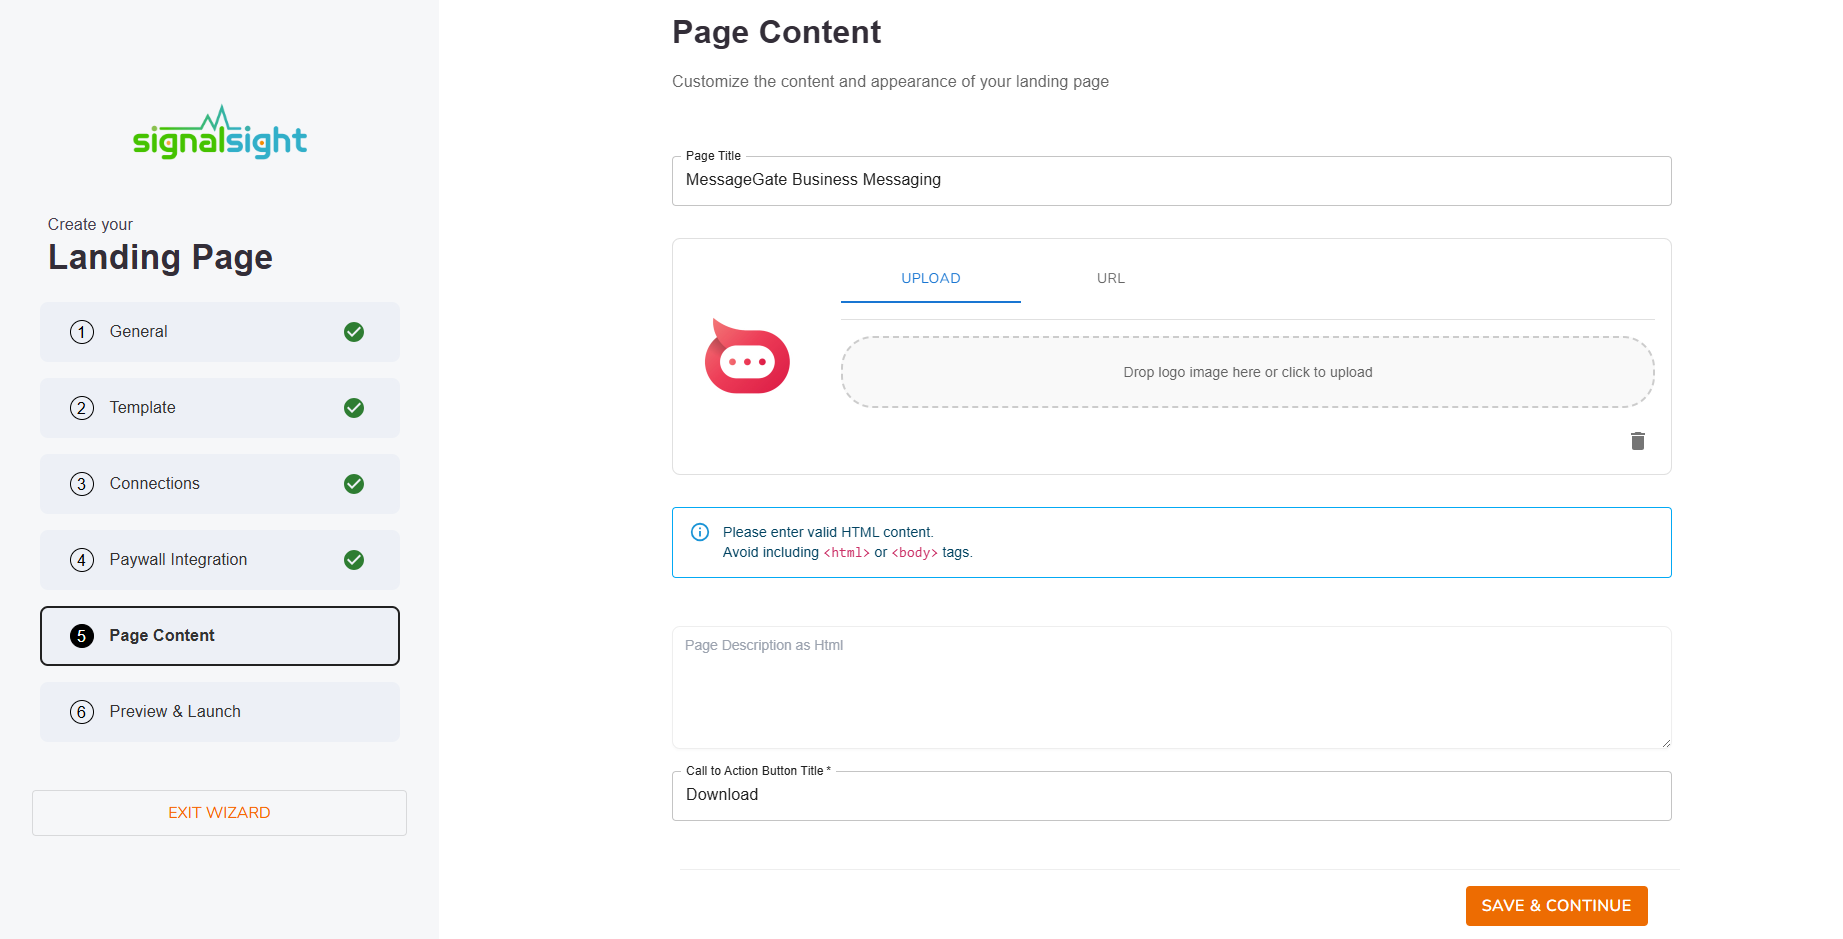
After completing these initial steps, you'll proceed to the "Page Content" step where you can add your custom HTML template code.
Step 2: Upload Custom Template
If you would like to get more details about the tracker and landing page creation process, you can check our Landing Page Creation documentation.
You can add your HTML/CSS/JS code into the area where the Page Description as HTML placeholder is located. There are a few important points you need to know for this area:
-
You should paste the code that is between the
<body>tags into this area. -
Users who want to make app store redirects with a button must use the
redirectToAppStore()method in the button’sonclickhandler. Since this is a ready-made embed code, using it directly will be sufficient for app store redirections and attribution processes. -
In this area, together with your HTML, you can also include
<style></style>(internal CSS) and JS code.
Step 3: Customize and Preview
Once your template is done:
- Review your template in the preview section.
- Make any necessary adjustments to the template code if needed.
- Test all interactive elements and forms to ensure they function correctly.
- Verify that tracking events are properly configured.
Step 4: Publish Your Landing Page
After finalizing your custom template:
- Click the "Complete" button to publish your landing page.
- A unique Landing Page URL will be generated for you.
- Use this URL in your marketing campaigns.
- You can always edit and update your custom template later.
For more information on creating an advertising campaign, please refer to Creating an Advertising Campaign .
Best Practices for Custom Templates
- Keep it Simple: Start with a clean, well-structured HTML template.
- Optimize Performance: Minimize file sizes and optimize images for faster loading times.
- Mobile-First Design: Ensure your template looks great on all device sizes.
- Onclick method for app store redirects: Use the
redirectToAppStore()method in the button’sonclickhandler. - Test Thoroughly: Test all functionality before publishing.
By using Custom Template, you can create landing pages that perfectly match your brand and marketing objectives, giving you the flexibility to implement any design or functionality you need.